

How Do You Get Rid of Moles in a Yard? A Seattle Guide
The most reliable answer to how do you get rid of moles in a yard is to find the tunnel a mole uses every day and trap the mole inside it. A scissor trap works in deep runs, and a harpoon trap works in shallow ones. Grub killer, mothballs, ultrasonic stakes and soap sprays are not proven to clear a lawn. Poison worm bait does work, but it carries risks for pets and wildlife.
The problem is that mole products are easy to buy and hard to judge. Store shelves mix traps that work with repellents that do not. You also cannot see the mole, so you cannot tell whether a treatment is doing anything. The mounds stop for a week, you assume it worked, and then a fresh ridge appears across your grass.
This guide walks you through the process in four steps: find the active runs, choose a method, set it correctly, and confirm the result. At Mole Masters, a family-run company that has done nothing but mole control around Seattle, Tacoma and the greater Puget Sound region since 1991, we point out common mistakes as we go. We also cover when a DIY attempt stops making sense.
Why moles tunnel and what does not work
Moles dig through your lawn because your soil is full of food, mostly earthworms, and you cannot remove the reason they came. Any plan that ignores that will fail.
What draws moles to your lawn
Ground moles are not rodents. They are insect eaters that live mostly on earthworms , and they dig constantly to find them. The popular belief that grubs are the cause is mostly a myth. Lawns with no grubs still get moles, so grub control does not control moles .
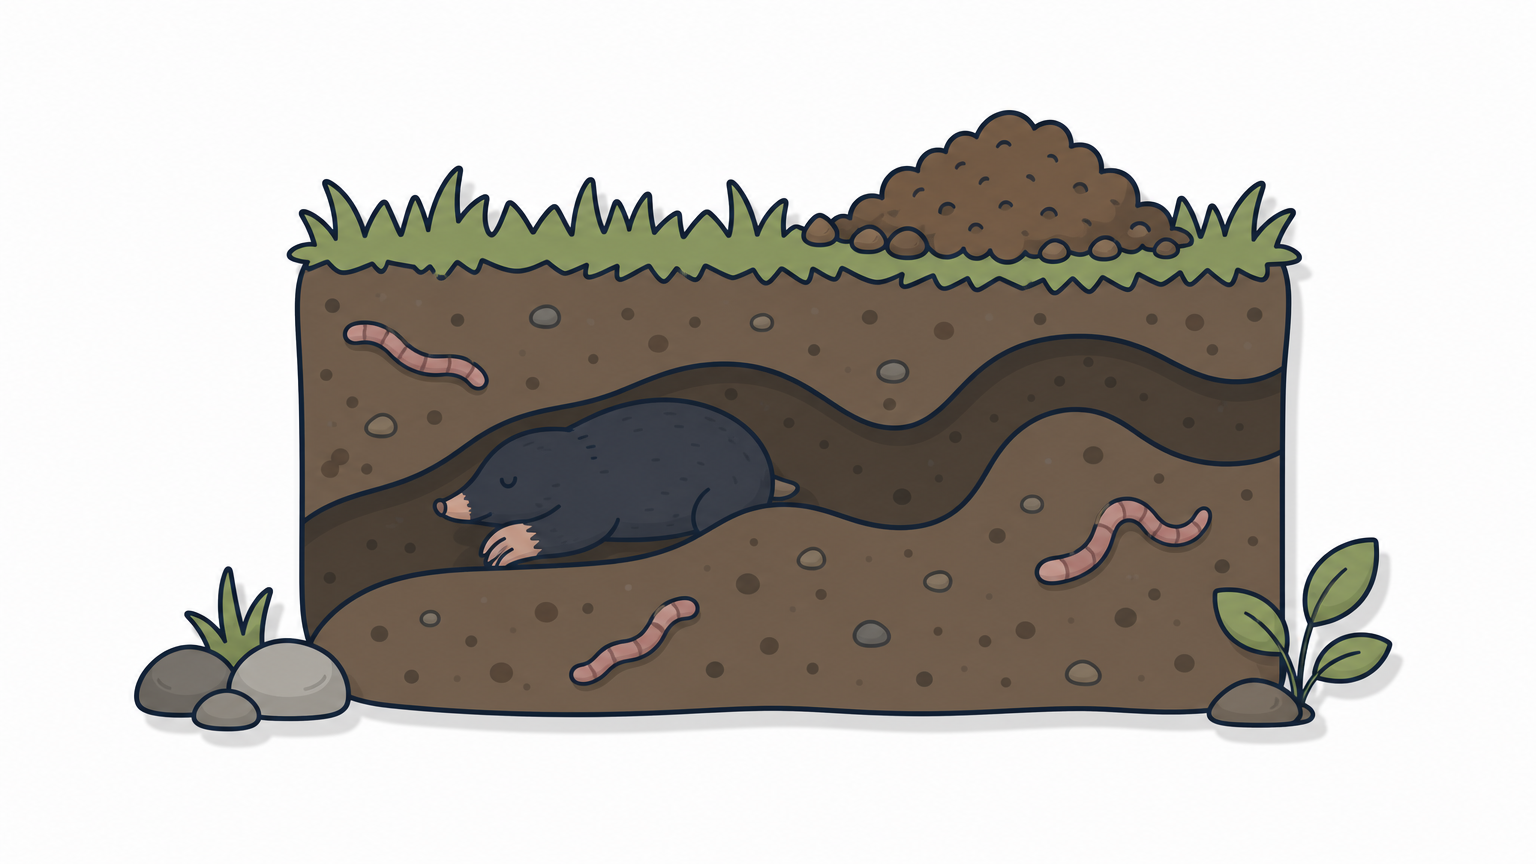
Dry or frozen ground sends earthworms deeper, and the moles follow. The mounds stop, but the mole is not gone. In our mild, wet climate, the soil stays workable for much of the year, which is why moles here can be active in almost any season.
You cannot starve a mole out of a lawn full of earthworms, so you have to remove the mole itself.
Home remedies that waste your time
Most remedies fail because they try to scare the mole instead of catching it. Moles are not poisoned by rodent baits either, because they do not eat seeds or grain. These common fixes do not work:
- Mothballs, human hair, razor blades or chewing gum dropped in tunnels
- Pinwheels and ultrasonic or vibrating stakes
- Grain, peanut or pellet baits sold for "rodents and moles"
- Grub killer applied to the whole lawn
Sprays are the usual next question. Dawn dish soap, castor oil and vinegar are not backed by the evidence that supports trapping. At best they make the soil unpleasant for a few days, and the mole tunnels deeper or into the next yard. Dish soap does not kill moles.
Step 1. Find the active tunnels
Before you set anything, find the tunnel the mole travels daily. A trap in an abandoned tunnel catches nothing, and this is the step most people skip.
Read the mounds and ridges
Not every sign of moles is worth trapping. Squiggly surface ridges are usually feeding tunnels, which the mole may use once and never revisit. Straight runs are the ones to target. They link the nest to the feeding area, and they often follow a curb, fence line, gutter or the edge of a patio.
Mounds of loose soil mark the vertical shafts that push dirt up from deeper tunnels. They tell you moles are present, but a ridge you can follow is a better place to put a trap.
Run the stomp test
You asked whether you should stomp down mole tunnels. Yes, but as a test, not as a cure. Here is how to do it:
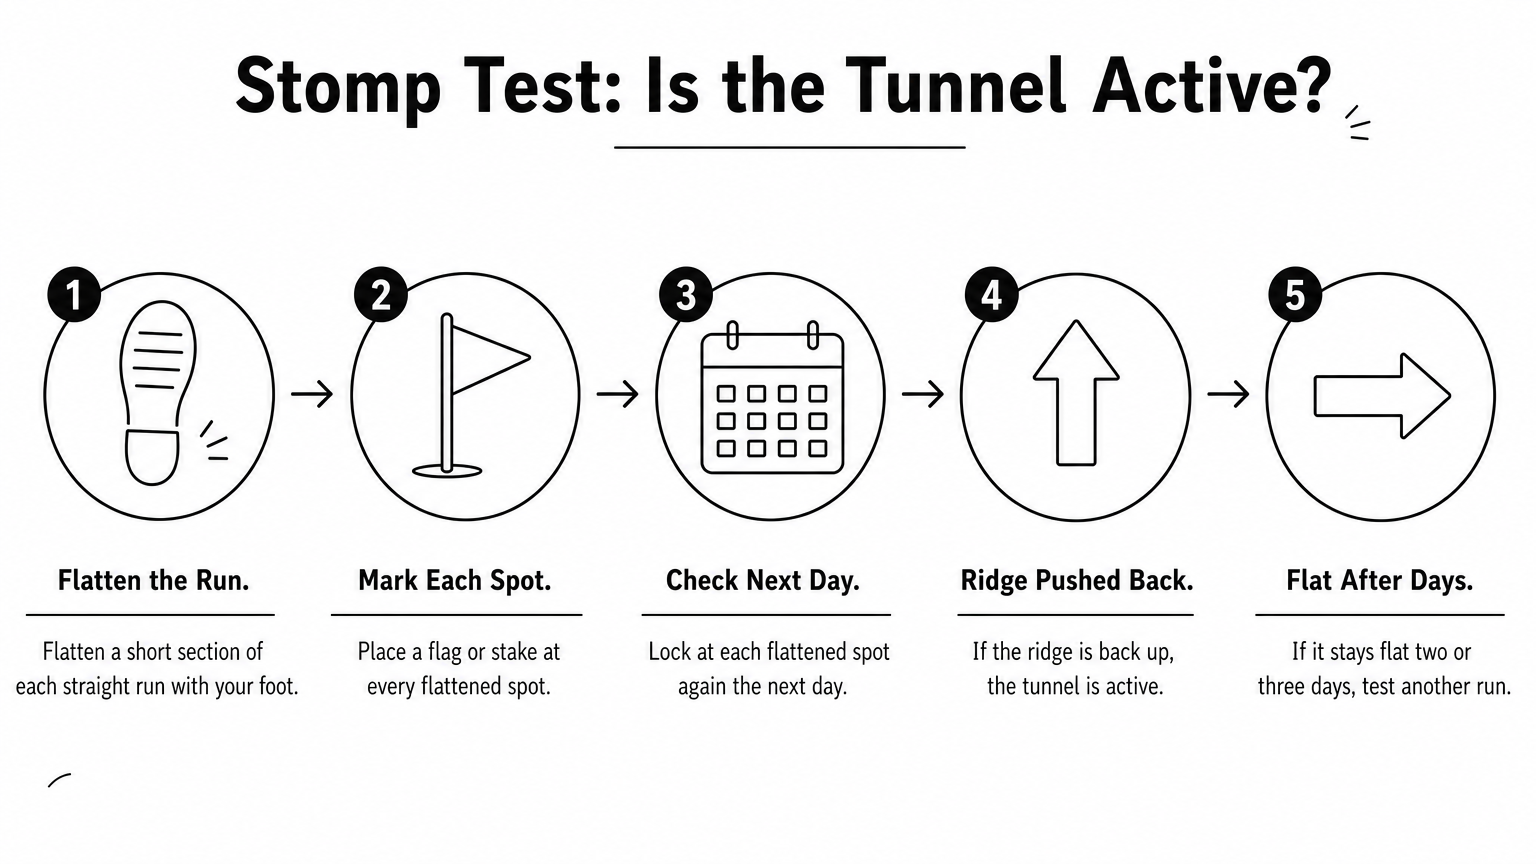
- Walk the straight runs and press a short section of each one flat with your foot.
- Mark each flattened spot with a flag or stake.
- Check again the next day.
- If the ridge has been pushed back up, the tunnel is active.
- If it stays flat for two or three days, leave it alone and test another run.
A tunnel that the mole repairs overnight is the only tunnel worth a trap.
Step 2. Choose a trap or bait that works
Choose a scissor or harpoon trap first, because trapping is the most dependable way to kill moles and the easiest to confirm. The right model depends on how deep the run is.
Compare your options
| Method | Does it work? | Best for | Watch out for |
|---|---|---|---|
| Scissor trap | Yes | Deep, subsurface runs | Placement must be exact |
| Harpoon trap | Yes | Shallow runs near the surface | Needs a straight, active ridge |
| Worm-shaped bait (bromethalin) | Yes | Runs where traps are impractical | Poison, so pets, children and wildlife are at risk |
| Grub killer | No | Nothing | Moles eat earthworms |
| Mothballs, gum, hair, ultrasonic stakes | No | Nothing | Wasted money |
| Soap, castor oil or vinegar sprays | Unproven | Nothing reliable | At best a short-term nuisance |
Why you should start with traps
Traps leave no poison in the ground. You can see a catch, and a catch tells you the job is progressing. Poison bait is effective , but a dog that finds a bait worm, or a predator that eats a poisoned mole, can be harmed. If you use it anyway, follow the label exactly and check your local rules first.
A shovel ambush, where you plunge the blade down beside a moving ridge, does work sometimes. It also means standing still on your lawn for hours. Reserve it for a lucky moment, not your plan.
Pick the method you can verify: a trap shows you the result, and a poison hides it.
Step 3. Set the trap or bait correctly
A trap works only if it sits across the mole's path, and the details of how you set it decide whether it catches anything. Follow your model's instructions, since designs differ, but the sequence is the same.
Set a scissor or harpoon trap
Moles seal openings and repair damage quickly, so your setup should look as little like a break in the tunnel as possible. Wear gloves and keep your hands clear of the mechanism. Then work through these steps:
- Pick the straight run that passed the stomp test.
- Open a small section of the tunnel with a trowel, or press down the ridge for a harpoon trap.
- Seat the trap so the trigger sits directly in the path of travel.
- Set the trap following the package directions, then step back.
- Cover the spot with a bucket or board to block light , because a mole that finds daylight will plug the hole.
- Mark the location with a flag so you can find it.
Check, move and bait with care
Check each trap daily. If nothing is caught in two or three days, move it to another active run. One yard can hold more than one mole, so setting two or three traps in different runs improves your odds.
If you choose worm bait, place it in the tunnel as the label directs, close the opening, and keep pets and children away from the area. Never leave bait lying on the surface.
Place the trap where the mole walks, and move it fast if it catches nothing.
Step 4. Confirm results and prevent a return
Catching a mole does not end the project. You have to confirm the tunnels stay quiet, repair the lawn, and watch for new arrivals, since other moles will use the same food-rich ground.
Confirm the mole is gone
Flatten the tunnels again after your catch and check them daily for a week . If no fresh ridges appear, the run is probably abandoned. Remember that dry or frozen ground can hide a mole that is still alive, so judge success by several quiet weeks, not several quiet days.
Repair the lawn and watch the edges
Rake mounds flat, fill collapsed tunnels, and reseed bare patches so weeds do not take the gaps . Mole Masters does not generally clean up molehills or repair lawns, so plan on doing this part yourself whichever way you control the moles.
Newcomers usually arrive from neighboring land, so check the edges of your yard along fences, curbs and borders every few weeks. A new ridge caught early costs you one trap and one afternoon.
When a professional makes sense
Call a professional if you have caught a mole and ridges keep reappearing, if your lot is large, or if you do not want to set traps yourself. Mole Masters controls moles with underground devices and no poisons or chemicals . They are covered with hard plastic and staked down, so they are safe for kids and pets. Our In/Out service uses five weekly visits, and each visit ends with a summary of what is happening in your yard.
Pricing works from a worst-case quote. The published In/Out estimate is up to $395 for a half-acre lot or smaller, before sales tax, and our average client pays $345. That is about a month of weekly visits. The final price drops if the job takes fewer visits, and larger or harder properties can cost more. You can call (253) 926-0402 Monday to Thursday from 9am to 5pm, or Friday from 9am to 3pm, for a free estimate.
If your own traps keep coming up empty, you are paying with your lawn, so hand the job to someone who does it daily.
Start with the tunnel, not the product
Getting rid of moles comes down to one sequence. Learn what they eat, find the run they reuse, trap it with a scissor or harpoon trap, and check the result before you relax. Repellents, grub killer and kitchen remedies skip that sequence, which is why they let you down.
If you would rather not spend your weekends crouched over a tunnel, request a free estimate from Mole Masters and get a clear worst-case price for your yard.